이전에 개발해보았던 Spring + JSP 게시판을 요즘 유행하는 Vue를 활용해서 수정해보았다.
완전히 Vue.js로 화면단을 바꾸지는 않았다.
기존의 Spring Controller를 통해서 Model과 View를 정의해주는 방식이었다면 Vue 객체를 생성하고 Axios 통신을 통해 Model 들을 갖고와서 Vue.js의 문법으로 View에 데이터를 넣어주는 형식으로 바꾸어 보았다.
MPA 방식에서 SPA 방식으로, SSR 방식에서 CSR 방식으로 전환을 해보는 과정이었다고 생각든다.
※ MPA vs SPA
MPA란? Multi Page Application의 약자로 여러 페이지로 구성된 웹 어플리케이션이다. 사용자의 요청이 발생할 때마다 서버로부터 새로운 html을 받아와서 해당 링크로 이동하여 페이지 전체를 새로 렌더링하는 웹페이지 구성 방식이다.
SPA란? Single Page Application의 약자로 하나의 페이지로 구성된 웹 어플리케이션이다. 브라우저에 최초에 한번 페이지 전테를 로드하고 이후부터는 특정 부분만 Ajax 통신을 통해 데이터를 바인딩하는 웹페이지 구성 방식이다.
※ SSR vs CSR
SSR란? Server Side Rendering의 약자로 서버로부터 완전하게 만들어진 html파일을 받아와 페이지 전체를 렌더링하는 방식이다. 조그만한 변경을 위해서도 요청을 보내고 응답을 받으면 새로고침되어 화면이 깜빡인 후에 표시가 되게 된다.
CSR란? Client Side Rendering의 약자로 사용자의 요청에 따라 필요한 부분만 응답 받아 렌더링 하는 방식이다. 초기 로딩 시간은 SSR보다 오래 걸리지만 SSR과 다르게 화면이 깜빡이지 않고 바로 수정된 데이터가 표시된다.
- 화면 구성별 기능과 해결 과정:
화면을 v-show를 사용하여 원하는 컴포넌트만을 화면에 출력할 수 있도록 구성하였다.
(추후 하나의 jsp파일에서 각 컴포넌트들을 분리해서 삽입하는 방법을 공부하고 개선해보아야겠다.)
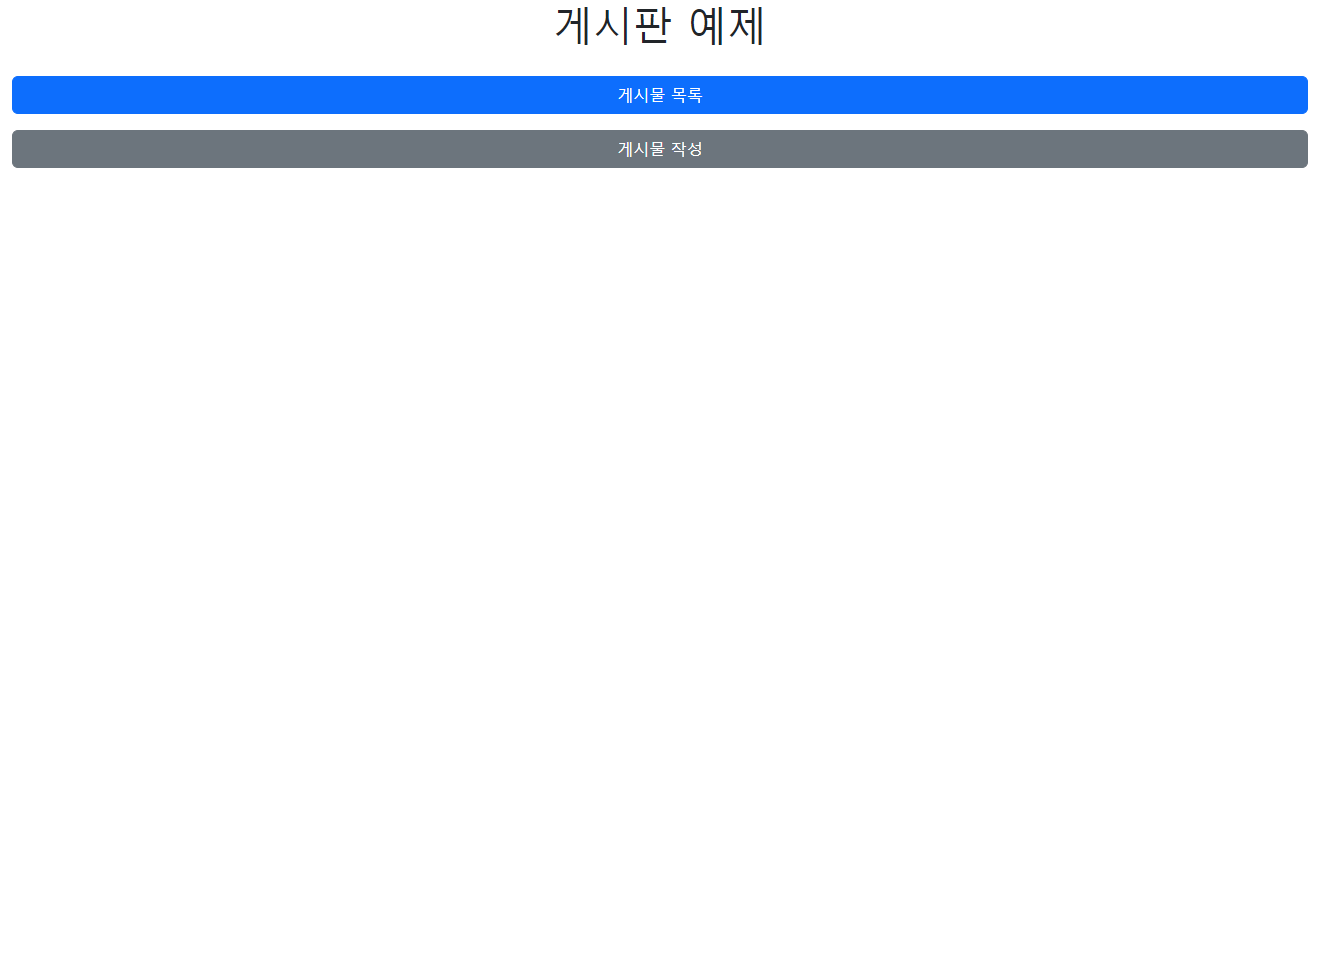
1. 메인 화면
Html 코드
    <!-- mainComponent -->
    <div id="main" v-show="mainShow">
        <button @click="getList" class="btn btn-primary" style="width:100%; margin-bottom: 8px; margin-top: 8px;">게시물 목록</button>
        <button @click="getWrite" class="btn btn-secondary" style="width:100%; margin-bottom: 8px; margin-top: 8px;">게시물 작성</button>
    </div>
화면 내 기능:
- 게시물 목록으로 이동
- 게시물 작성으로 이동
해결 과정:
- getList() 메소드를 이용해 mainComponent는 가리고 listComponent는 화면에 출력
- getWrite() 메소드를 이용해 mainComponent는 가리고 listComponent는 화면에 출력
2. 게시물 목록 화면

Html 코드
<!-- listComponent -->
    <div id="list" v-show="listShow">
        <table class="table">
          <thead>
            <th scope="col" v-for="th in ths">{{th}}</th>
          </thead>
          <tbody>
                <tr v-for="(item, index) in list" :key="index">
                    <td scope="row" width="10%"> {{item.num}} </td>
                    <td scope="row" width="15%"> {{item.title}} </td>
                    <td scope="row" width="15%"> {{item.createUserName}} </td>
                    <td scope="row" width="20%"> {{item.createDatetime.substring(0,10)}} </td>
                    <td scope="row" width="20%">
                        <button @click="getDetail(item.seq)" class="btn btn-primary" style="width:100%;">상세보기</button>
                    </td>
                    <td scope="row" width="20%">
                        <button @click="postDelete(item.seq)" class="btn btn-danger" style="width:100%;">삭제하기</button>
                    </td>
                </tr>
          </tbody>
        </table>
        <table style="margin: auto;">
        	<tr>
                <td>
        			<input type=button value="이전" class="btn btn-sm btn-danger" @click="curPage--" v-if="curPage != 1">
        				{{curPage}} page / {{totalPage}} pages
        			<input type=button value="다음" class="btn btn-sm btn-danger" @click="curPage++" v-if="curPage != totalPage">
        		</td>
        	</tr>
        </table>
        <button @click="goMain" class="btn btn-primary" style="width:100%; margin-bottom: 8px; margin-top: 8px;">메인 페이지</button>
        <button @click="getWrite" class="btn btn-secondary" style="width:100%; margin-bottom: 8px; margin-top: 8px;">게시물 작성</button>
    </div>
화면 내 기능:
- 게시물 목록 출력
- 상세보기 클릭시 조회, 수정 화면으로 이동
- 삭제하기 클릭시 해당 게시물 삭제
해결 과정:
- 게시물 목록으로 이동시, Axios 통신을 통해 page를 param으로 전달해 로직을 실행
- 페이지 처리를 위해 response로 반환할 JSONArray 객체를 생성해 구현
- response를 Vue 객체에 data에 넣어주고 화면에서 v-for를 활용해 목록을 출력
- 상세보기 클릭시 getDetail(seq) 메소드를 이용해 listComponent를 가리고 DetailComponent를 화면에 출력
- 삭제하기 클릭시 postDelete(seq) 메소드를 이용해 axios 통신으로 deleteAction을 실행
getList()
getList() {
                this_ = this

                if(this.listShow === false) {
                    this.curPage = 1
                }

                this.mainShow = false
                this.listShow = true
                this.writeShow = false
                this.detailShow = false


                axios({
                  method: 'get',
                  url: 'board/list',
                  responseType: "json",
                  params : {
                    page : this_.curPage
                  }
                }).then(function(response) {
                    console.log(response.data)
                    this_.list = response.data
                    this_.curPage = response.data[0].curPage
                    this_.totalPage = response.data[0].totalPage;
                })
            }
postDelete(seq)
postDelete(seq) {
                this_ = this

                axios({
                    method: 'post',
                    url: 'board/deleteAction',
                    params : {
                        seq : seq
                    }
                }).then(function(response) {
                    console.log(response.data)
                    if(response.data == 1) {
                        alert("글 삭제 성공")
                        this_.getList()
                    }
                    else {
                        alert("글 삭제 실패\n 삭제 권한이 없습니다.")
                        this_.getList()
                    }
                })
            }
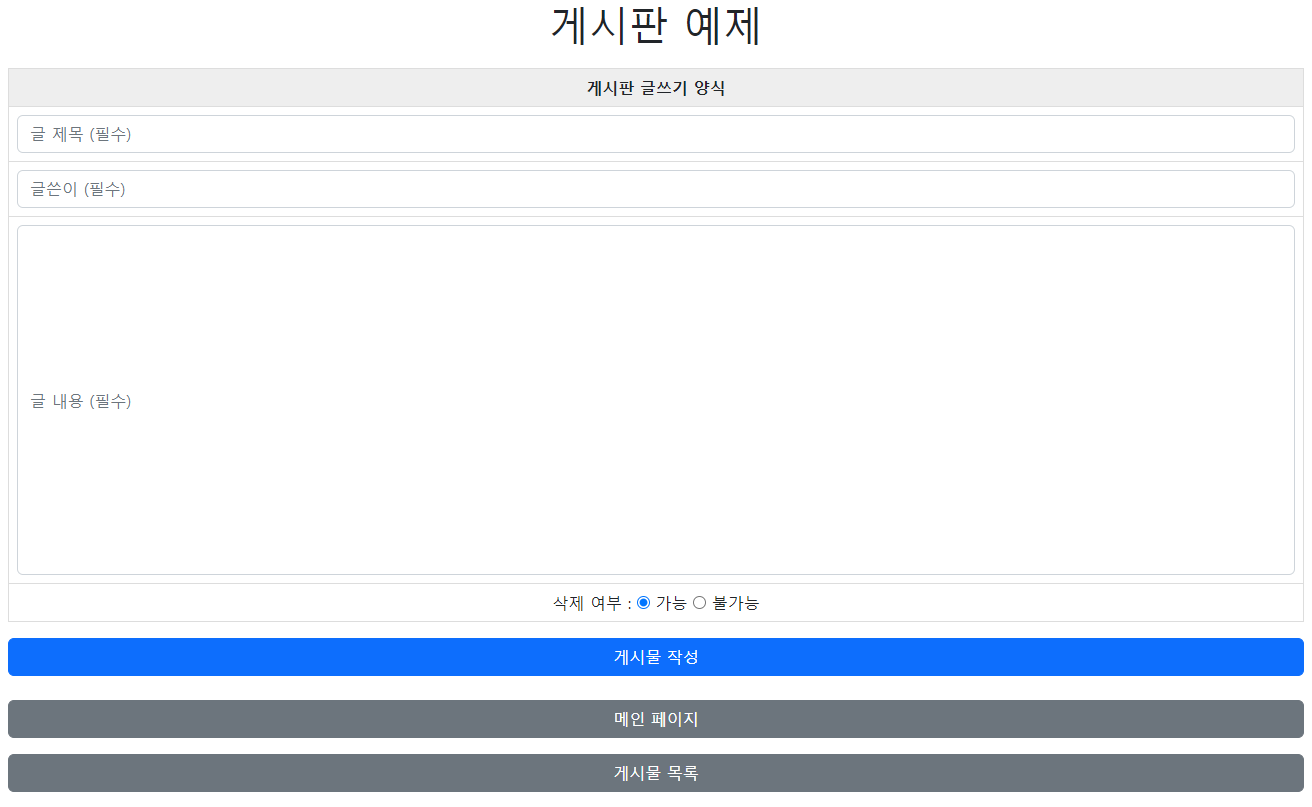
3. 게시물 쓰기 화면
Html 코드
<!-- writeComponent -->
    <div id="write" v-show="writeShow">
    <form method="post" action="writeAction" accept-charset="UTF-8">
        <table class="table table.striped" style="text-align: center; border: 1px solid #dddddd">
        	<thead>
        		<tr>
        			<th colspan="2" style="background-color: #eeeeee; text-align: center;">게시판 글쓰기 양식</th>
        		</tr>
        	</thead>
        	<tbody>
        	    <tr>
        			<td><input type="text" class="form-control"
        			placeholder="글 제목 (필수)" v-model="form.title" ref="title" maxlength="50"></td>
        		</tr>
        		<tr>
                    <td>
                        <input type="text" class="form-control"
                        placeholder="글쓴이 (필수)" v-model="form.createUserName" ref="createUserName" maxlength="50">
                    </td>
                </tr>
        		<tr>
        			<td><input type="text" class="form-control"
        			placeholder="글 내용 (필수)" v-model="form.contents" ref="contents" maxlength="2048"
        			style="height: 350px;">
        			</td>
        		</tr>
        		<tr>
        			<td>
                        삭제 여부 : <input type="radio" v-model="form.deleteYn" ref="deleteYn" value="y"/> 가능
                                    <input type="radio" v-model="form.deleteYn" ref="deleteYn" value="n"/> 불가능
                    </td>
        		</tr>
            </tbody>
        </table>
        <input type="button" class="btn btn-primary" style="width:100%" value="게시물 작성" @click="postWrite()">
    </form>
    <button @click="goMain" class="btn btn-secondary" style="width:100%; margin-bottom: 8px; margin-top: 8px;">메인 페이지</button>
    <button @click="getList" class="btn btn-secondary" style="width:100%; margin-bottom: 8px; margin-top: 8px;">게시물 목록</button>
    </div>
화면 내 기능:
- 게시물 작성 기능
- 게시물 목록으로 이동
- 메인 화면으로 이동
해결 과정:
- form에서 v-model를 이용해 데이터를 post 할 수 있도록 세팅
- 해당 form에서 필수값이 비어 있으면 .focus() 될 수 있도록 js를 이용해 처리
- writeAction이 성공적으로 처리되면 getList() 메소드를 호출하여 게시물 목록 화면으로 이동
- v-model로 삽입된 내용물을 빈값으로 초기화
getWrite()
getWrite() {
                this.mainShow = false
                this.listShow = false
                this.writeShow = true
                this.detailShow = false
            }
postWrite()
postWrite() {
                this_ = this

                if(this.form.title.trim()=="")
                {
                    this.$refs.title.focus()
                    return
                }
                if(this.form.createUserName.trim()=="")
                {
                    this.$refs.createUserName.focus()
                    return
                }
                if(this.form.contents.trim()=="")
                {
                    this.$refs.contents.focus()
                    return
                }
                if(this.form.deleteYn.trim()=="")
                {
                    this.$refs.deleteYn.focus()
                    return
                }
                axios({
                    method: 'post',
                    url: 'board/writeAction',
                    params : {
                        title: this.form.title,
                        createUserName: this.form.createUserName,
                        contents: this.form.contents,
                        deleteYn: this.form.deleteYn
                    }
                }).then(function(response) {
                    console.log(response.data)
                    if(response.data == 1) {
                        alert("글쓰기 성공")
                        this_.getList()
                        this_.form.title = ''
                        this_.form.createUserName = ''
                        this_.form.contents = ''
                        this_.form.deleteYn = 'y'
                    }
                    else {
                        alert("글쓰기 실패")
                        this_.goMain()
                    }
                })
            }
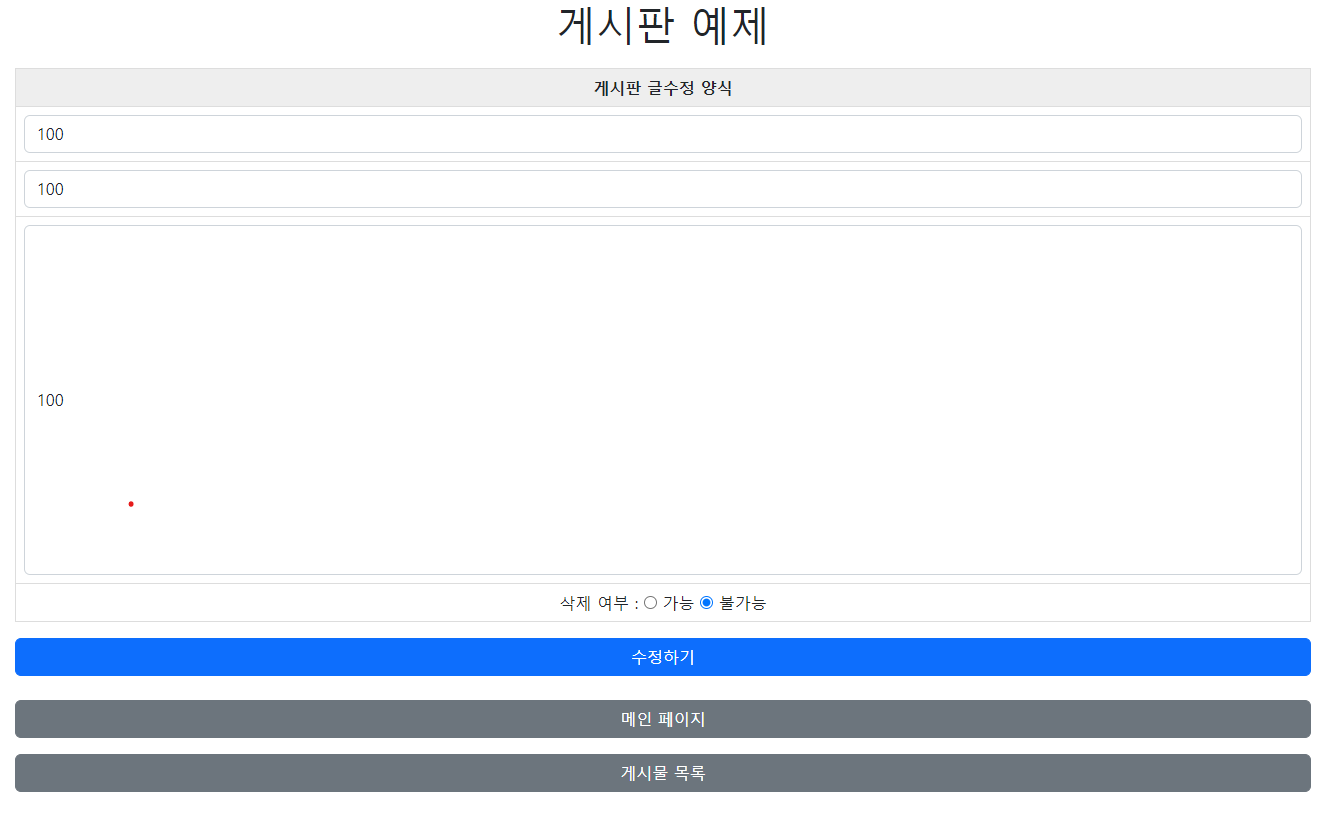
4. 게시물 보기, 수정 화면
Html 코드
    <!-- detailComponent -->
    <div id="detail" v-show="detailShow">
    	<form method="post" action="updateAction" accept-charset="UTF-8">
    		<table class="table table.striped" style="text-align: center; border: 1px solid #dddddd">
    			<thead>
    				<tr>
    					<th colspan="2"
    						style="background-color: #eeeeee; text-align: center;">게시판
    						글수정 양식</th>
    				</tr>
    			</thead>
    			<tbody>
    			    <tr>
    				    <input type="hidden" name="seq" v-model="content.seq"/>
    			    </tr>
    				<tr>
    					<td><input type="text" class="form-control"
    						placeholder="글 제목 (필수)" name="title"
    						v-model="content.title" maxlength="50">
    					</td>
    				</tr>
    				<tr>
                        <td>
                        <input type="text" class="form-control"
                            placeholder="글쓴이 (필수)" name="createUserName"
                            v-model="content.createUserName" maxlength="50">
                        </td>
                    </tr>
    			    <tr>
    				    <td>
    					<input type="text" class="form-control"
    						placeholder="글 내용 (필수)" name="contents"
    					    v-model="content.contents"
    						maxlength="2048"style="height: 350px;">
    					</input>
    					</td>
    				</tr>
    				<tr>
    					<td>
                            삭제 여부 : <input type="radio" name="deleteYn" v-model="content.deleteYn" value="y" /> 가능
                             <input type="radio" name="deleteYn" v-model="content.deleteYn" value="n" /> 불가능
                        </td>
    			    </tr>
    			</tbody>
    		</table>
    		<input type="button" class="btn btn-primary" style="width:100%" value="수정하기" @click="postUpdate(content.seq)">
    	</form>
        <button @click="goMain" class="btn btn-secondary" style="width:100%; margin-bottom: 8px; margin-top: 8px;">메인 페이지</button>
        <button @click="getList" class="btn btn-secondary" style="width:100%; margin-bottom: 8px; margin-top: 8px;">게시물 목록</button>
    </div>
화면 내 기능:
- 게시물 조회 기능
- 게시물 수정 기능
- 게시물 목록으로 이동
- 메인 화면으로 이동
해결 과정:
- getDetail(seq) 메소드를 통해서 seq값을 param으로 전달해 응답받은 response를 v-model에 바인드
- postUpdate(seq) 메소드를 통해서 해당 DB값을 변경
getDetail(seq)
getDetail(seq) {
                this_ = this

                this.mainShow = false
                this.listShow = false
                this.writeShow = false
                this.detailShow = true

                axios({
                    method: 'get',
                    url: 'board/content',
                    params : {
                        seq : seq
                    }
                }). then(function(response) {
                    console.log(response.data)
                    this_.content = response.data
                })
            }
postUpdate(seq)
postUpdate(seq) {
                this_ = this
                axios({
                    method: 'post',
                    url: 'board/updateAction',
                    params : {
                        seq: this.content.seq,
                        title: this.content.title,
                        createUserName: this.content.createUserName,
                        contents: this.content.contents,
                        deleteYn: this.content.deleteYn
                    }
                }). then(function(response) {
                    console.log(response.data)
                    if(response.data == 1) {
                        alert("글 수정 성공")
                    }
                    else {
                        alert("글 수정 실패")
                    }
                })
            }
5. 페이지 처리 & 인덱스 처리
- 페이지 처리와 인덱스 처리를 위해서 row_number()을 활용
- start 와 end 을 현재 페이지 넘버에 맞게 10개 씩 끊어올 수 있도록 설정
- 갖고온 list를 내가 원하는 데이터를 객체에 추가하여 전달할 수 있도록 JSONArray 사용
- curPage와 totalPage를 data[0]에만 담아서 전달
BoardListController 코드
@RestController
@RequestMapping(value = "/board")
public class BoardListController {
	@Autowired
	private BoardService boardService;

	@RequestMapping(value = "list", method = RequestMethod.GET, produces = "application/json; charset=utf8")
	public String getList(@RequestParam String page) {
		if(page==null) page = "1";
		int curPage = Integer.parseInt(page);
		Map map = new HashMap();
		int rowSize = 10;
		int start = (rowSize*curPage) - (rowSize -1);
		int end = rowSize*curPage;

		map.put("start", start);
		map.put("end", end);

		List<Board> list = boardService.getBoardList(map);
		int totalPage = boardService.getTotalPage();
		int totalNum = boardService.getTotalNum();
		System.out.println(totalPage);

		String result="";
		try {
			JSONArray arr = new JSONArray();
			int k=0;
			for(Board board: list) {
				JSONObject obj = new JSONObject();
				obj.put("num", totalNum - Integer.parseInt(board.getNum())+ 1);
				obj.put("seq", board.getSeq());
				obj.put("title", board.getTitle());
				obj.put("createUserName", board.getCreateUserName());
				obj.put("contents", board.getContents());
				obj.put("createDatetime", board.getCreateDatetime());

				if(k==0) {
					obj.put("curPage", curPage);
					obj.put("totalPage", totalPage);
				}
				arr.add(obj);
				k++;
			}
			result = arr.toString();
		} catch (Exception ex) {

		}
		return result;
	}
}
SQL
		/* BoardDao.getBoardList */
		select
			num
			, seq                   as seq
			, upper_seq           as upperSeq
			, title               as title
			, contents            as contents
			, create_user_id      as createUserId
			, create_user_name    as createUserName
			, create_datetime     as createDatetime
			, delete_yn           as deleteYn
		from
		(select *, (row_number() over()) as num from
		(select * from board order by seq desc) as foo) as foo
		where num BETWEEN #{start} and #{end}
'JAVA' 카테고리의 다른 글
| Spring MVC - 백엔드 웹 개발 핵심 기술 간단 정리 (0) | 2023.08.13 |
|---|---|
| [Java] Open JDK와 Oracle JDK의 차이점과 Java 1.8 (0) | 2023.03.08 |
| [Java] JSP + Spring 게시판 만들기 (0) | 2023.02.28 |
| [Java] 스프링 입문 - 코딩을 하며 스프링 공부해보기(SpringBoot, 웹 MVC, DB 접근 기술) (0) | 2023.01.07 |
| [JAVA] JSP 게시판 따라 만들어보고 서버 배포까지 공부해보기(EC2, Docker) (0) | 2022.12.16 |


